Beautiful bonnets are a must at every Easter parade.
While you may be hosting your own at home this Easter in isolation, there’s still plenty of fun to be had with the kids, not to mention its the perfect activity to keep them busy.
Decorate your bonnet with what you’ve got on hand — streamers, paints, ribbons, flowers — and use your imagination!
And when all the fun is over and Easter has passed, get the kids in the kitchen with these recipes for left over hot cross buns.
Materials for both bonnets
Tracing paper
Pencil
Cardboard
Scissors
Acrylic paint and spray paint
Paintbrushes
Stencils (optional)
Coloured paper
Stencil brush (optional)
Paper doilies
Small paper patty cake cases
Artificial flowers
Glue gun and glue sticks
Stapler
Streamers
Ribbon
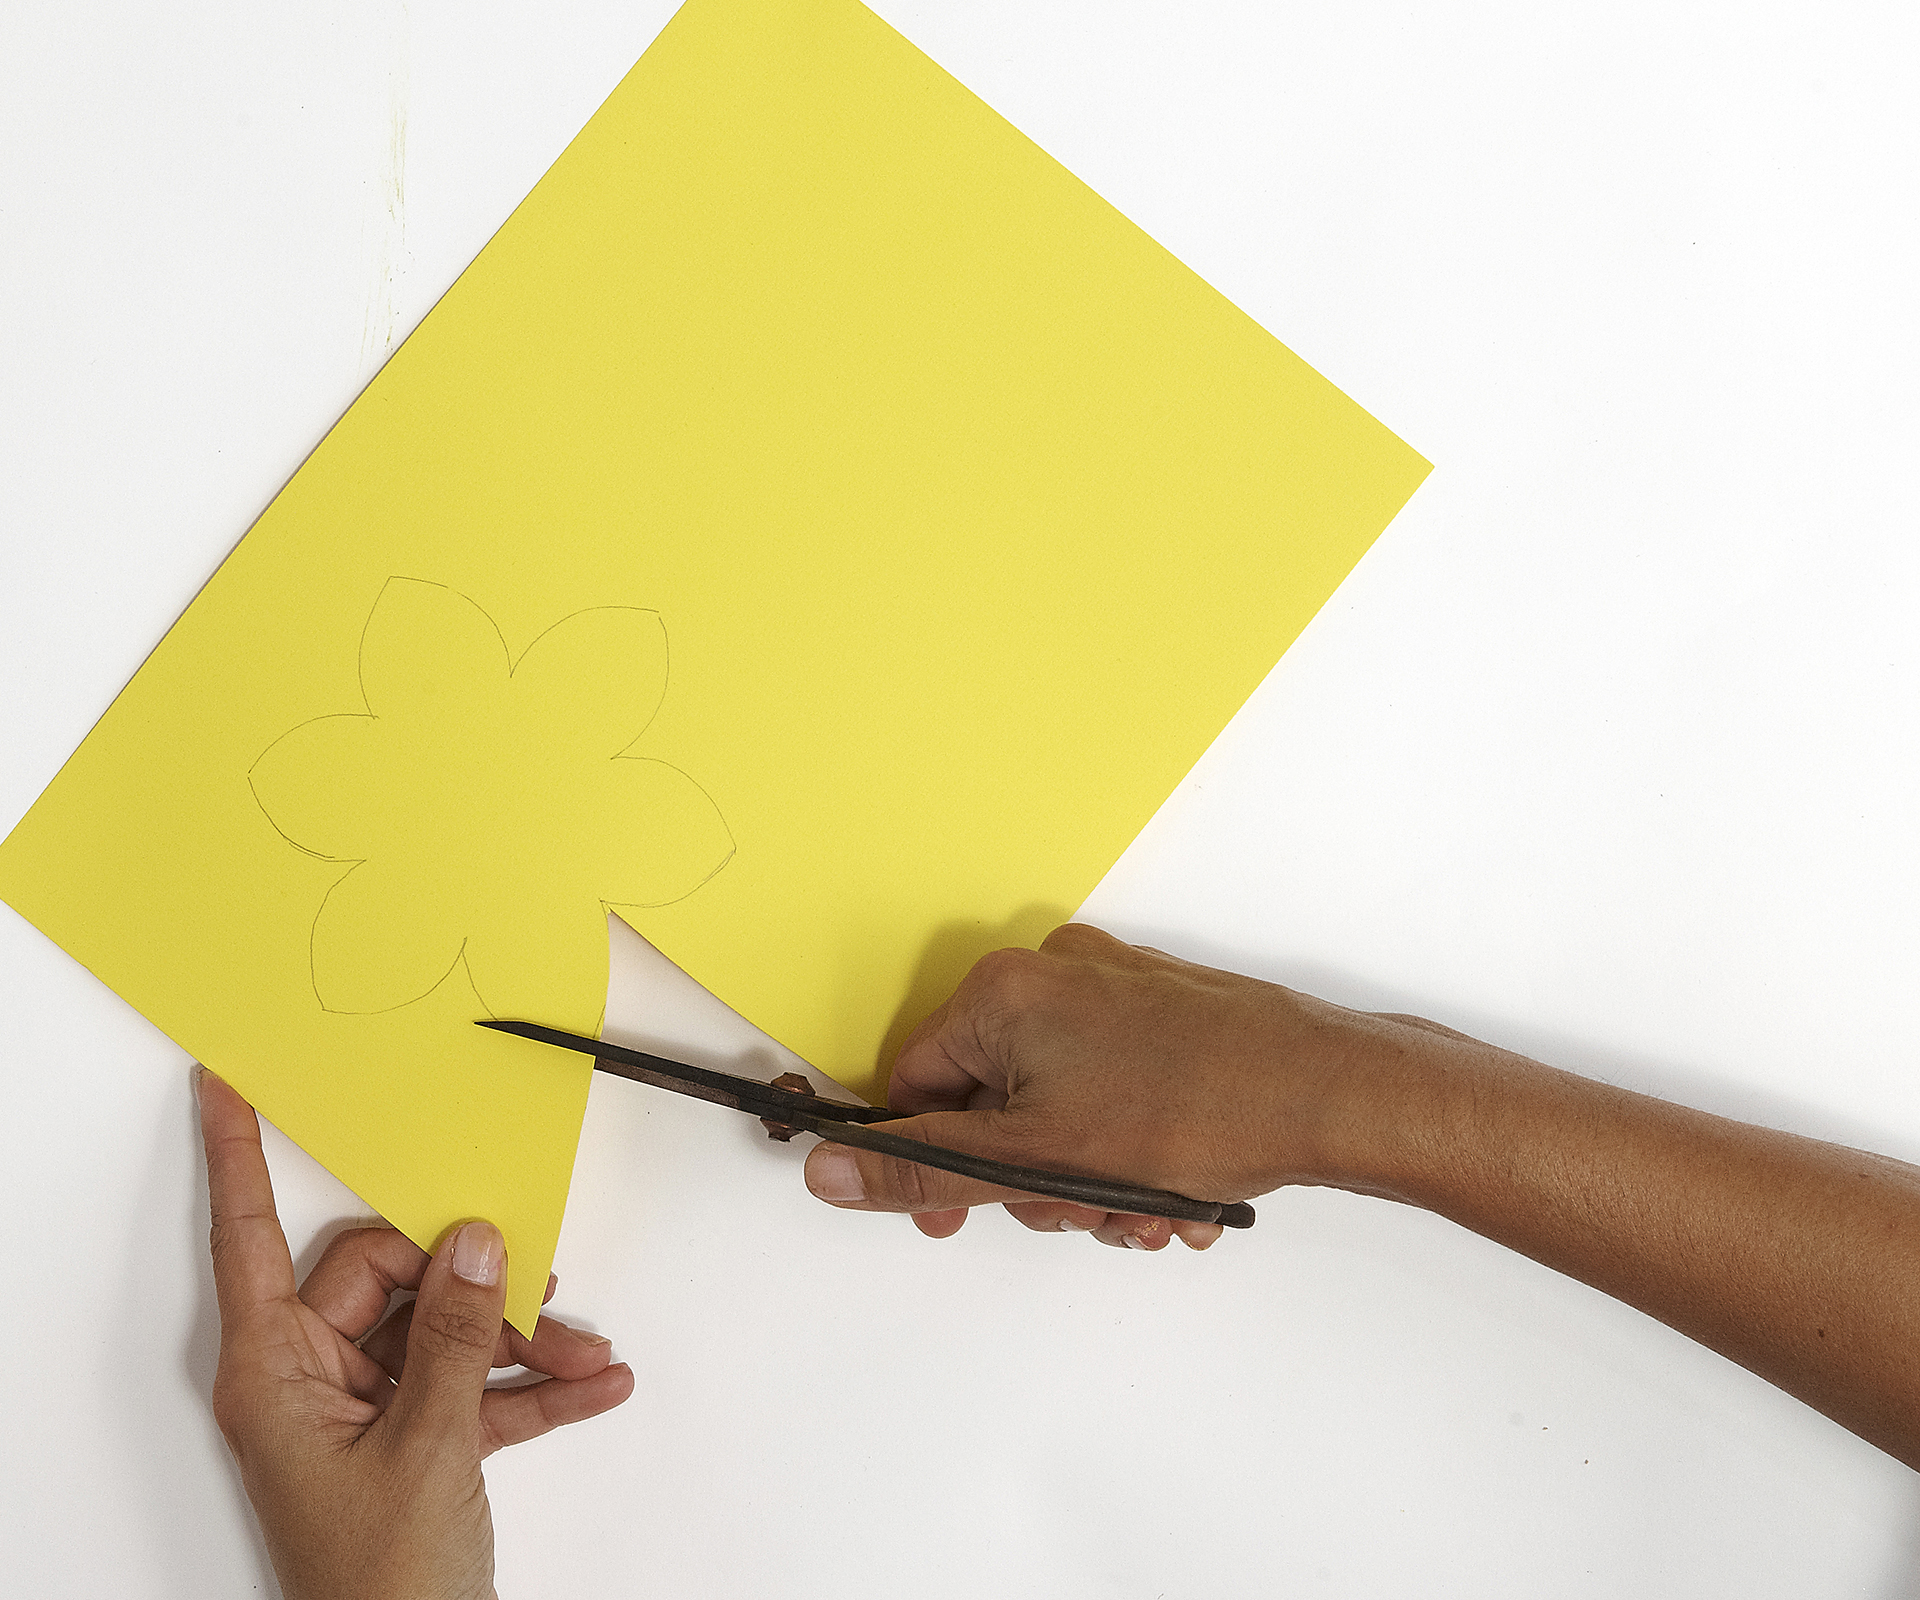
Get crafty at home and make your own Easter bonnet hat.
(Image: Supplied)Instructions for making hats
Print a bonnet and hat outline at the desired size, or alternatively, print out and enlarge on a photocopier to desired size. Trace the pattern pieces onto coloured cardboard and cut out.
Paint the hat and bonnet with washes of acrylic paints or spray and spatter them lightly with spray paints. Use a number of different coloured paints to create great effects.
Decorate or spray a number of paper doilies and patty cake cases in the colours of your choice. Work stencils on separate strips and pieces of coloured paper, using the paint colours you desire. You can use the colours in our photographs as a guide, or create your own colour scheme. Remove artificial flowers from their stems or cut off the stems just below the petals.
**Watch: How to decorate your own Easter eggs in traditional style
Instructions continue below. **
Glue a number of doilies around the inside of the outer edge of the bonnet, then cut around them to create a scalloped effect. Glue a stencilled strip across the centre right side of the bonnet. Bring the straight edges of the bonnet together (this forms the back of the bonnet), checking the fit on your child and adjust, if necessary, to make the hat smaller or larger. Glue or staple these edges together (where they meet at the base) to secure. Glue a painted doily over the opening at the back to conceal it completely.
Fold and fan other doilies and attach where desired. Attach patty cake cases and stencilled pieces of paper; flowers can be glued in the centre of the cake cases or doily fans. Staple matching lengths of ribbon to each inner side of the bonnet, to form ties.