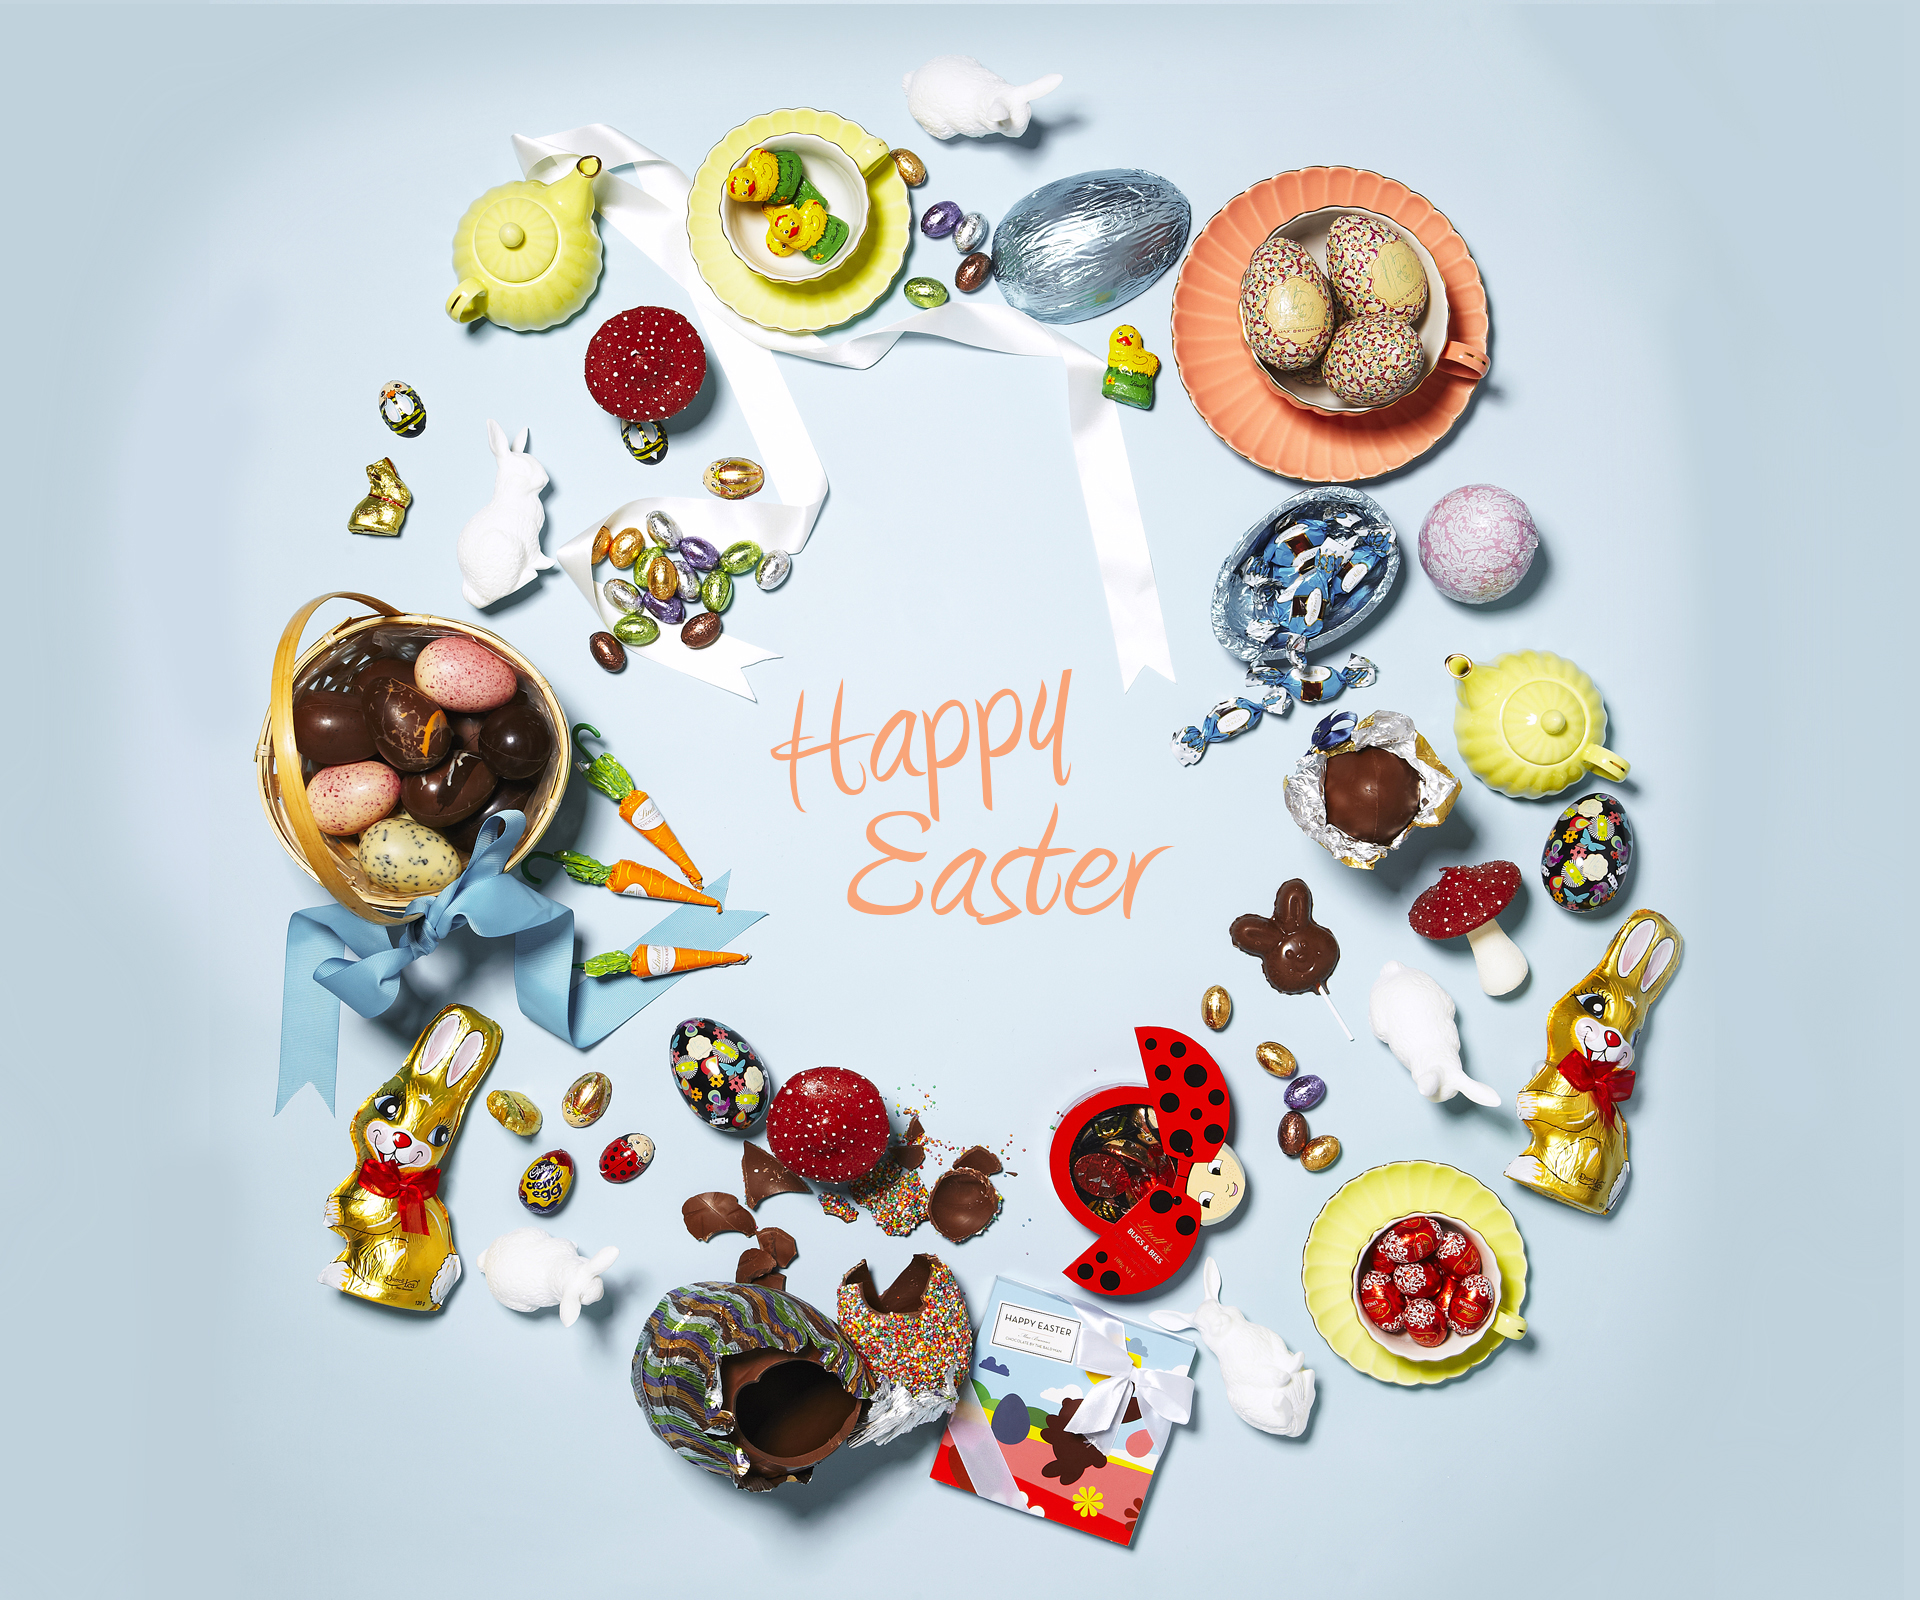
With Easter just around the corner and the kids soon to be on school holidays, what better way to get into the season and keep everyone busy with one of our crafty projects!
Whether you plan to gift these or keep them for yourself, we’ve complied our favourite step-by-step activities suitable or the whole family.
Easter Bunny Bags
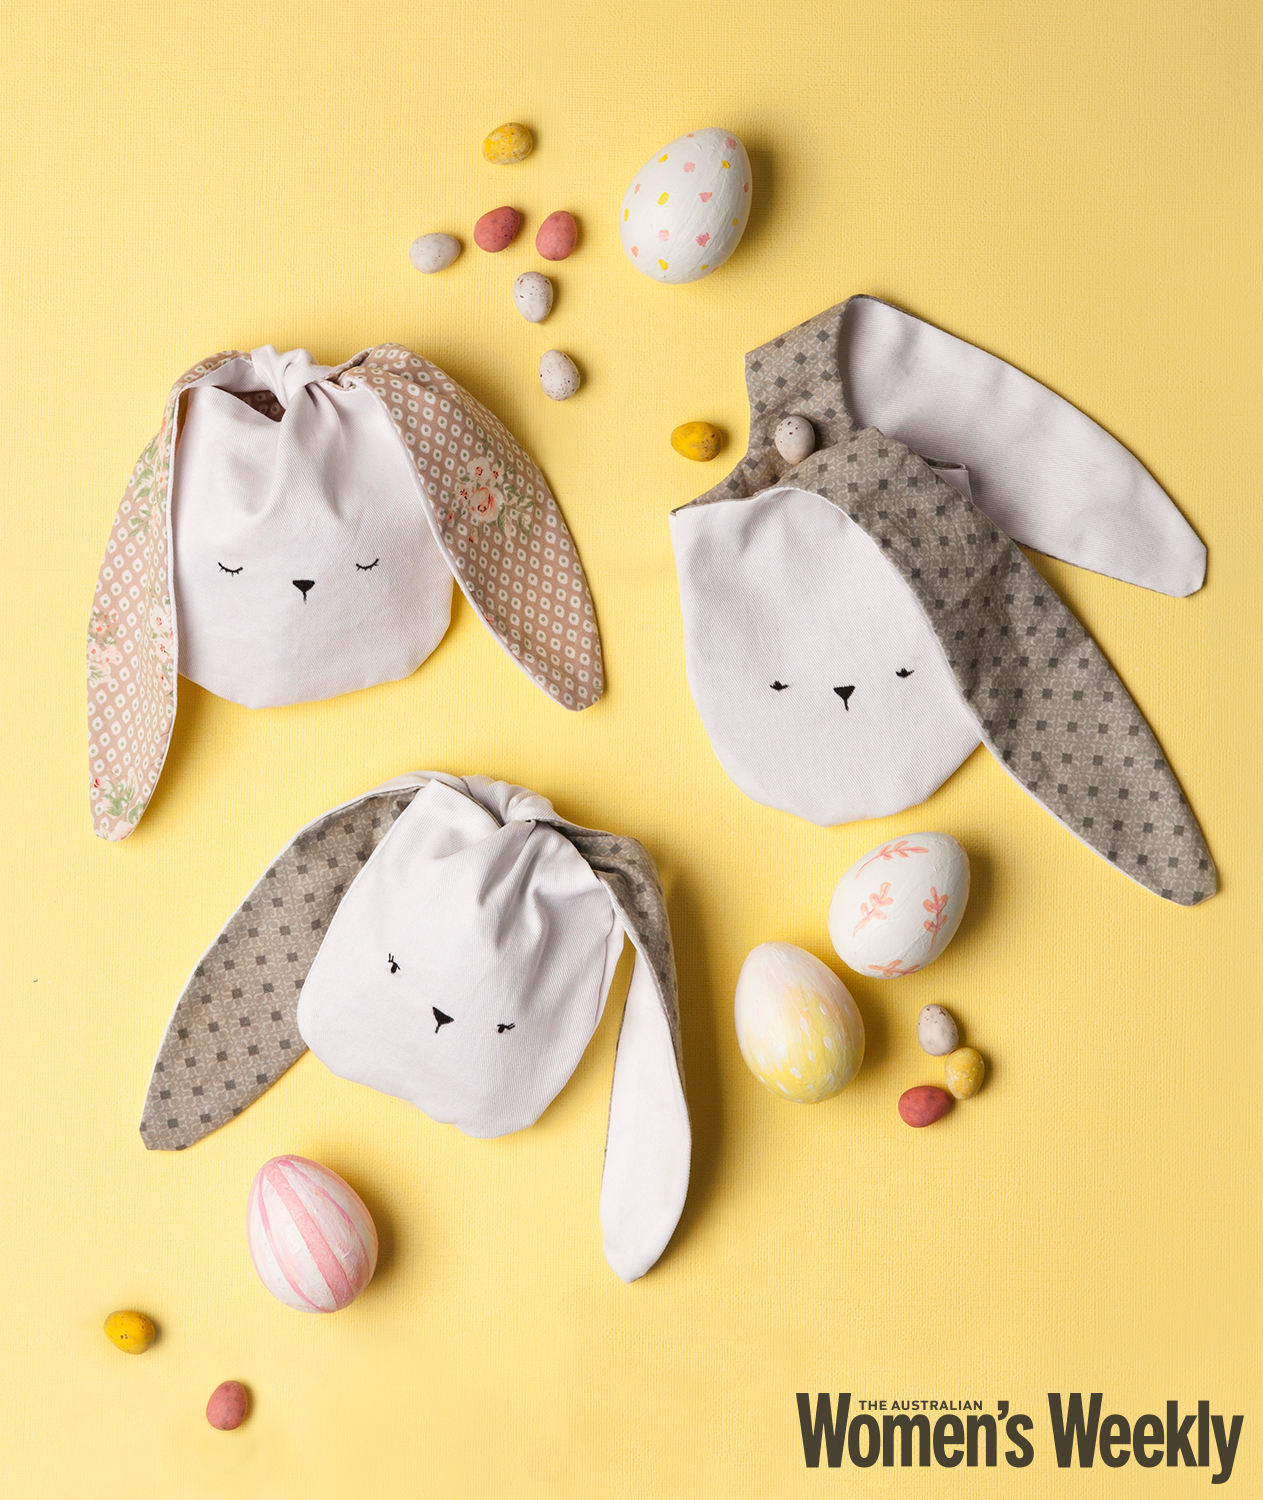
These Easter bunny bags will last for years to come.
Materials (makes two gift bags)
50cm of patterned fabric for the lining
50cm of white cotton for the outside of the bag
Pencil
Scissors
Sewing machine
White cotton thread
Black fine-tip marker pen
Steps
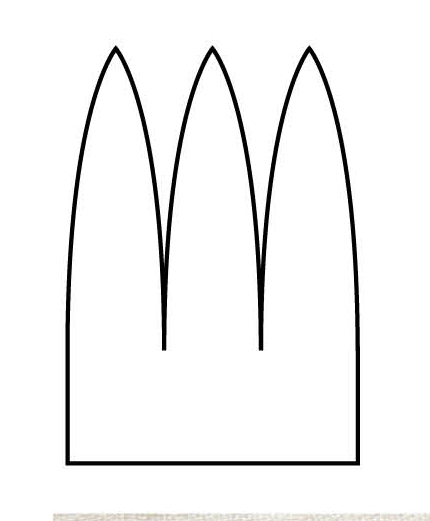
1) If you are using the template provided on page 182, photocopy and enlarge it to the size you require. Our bags are 15cm wide and 40cm high, so you’ll need to copy the template onto A3 paper. Cut out the paper template.
2) Place fabric pieces right side down. Using the pencil, trace around the template four times on the reverse side of both fabrics, leaving about 3cm between each bunny. Cut out the pieces, making them 1cm larger all round, to provide a seam allowance (see diagram below).
3) Pair up the pieces so you have one patterned lining with one white outer, placing them right sides together. You should have four pairings – two for each bag.
4) Using the sewing machine and white thread, sew each pair together along the pencil line, leaving an opening at the base of the bunny face (see Diagram B). Turn right side out through this opening. The gap will disappear when you sew both sides of the bag together. You may like to press the pieces flat with an iron.
5) Place the two sides of each bag together, with the white fabrics facing. Sew together as closely to the edge as possible, going around the chin in a “U” shape from point A to point B (see Diagram B). This will also close up the opening. Turn bag the right way out.
6) Use your marker pen to draw on a cute bunny face. Now, fill the bags up with your favourite Easter treats and tie the floppy ears in a knot to secure.

The bunny bag template.
Carrot Bonbons

These fun carrots not only look great, they conceal sweet treats to delight little and not so little ones. Great for Easter hunts or as take-home gifts for guests.
Carrot top template.
Materials
Orange cardboard
Crepe paper ribbons in oranges and yellows Tissue paper in green
Leaf template (below)
Glue and sticky tape
Scissors
Mini Easter eggs
*All items available from Spotlight.
Steps
1) Cut cardboard into various size squares. Roll into cone shape and afix with glue or tape to create your carrot.
2) Wrap carrot several times in crepe paper ribbon, leaving extra ribbon at the top. Afix paper ribbon at bottom with glue.
3) Fill with eggs before tucking excess crepe paper ribbon into the top of the carrot, rounding over the cardboard opening.
4) Double over tissue paper and use the leaf template, scaled to size, to trace onto folded paper. Cut out, bunch up and secure at top of carrot with sticking tape.
5) Tuck base of leaves into open carrot top and secure with glue.
Marbled Eggs
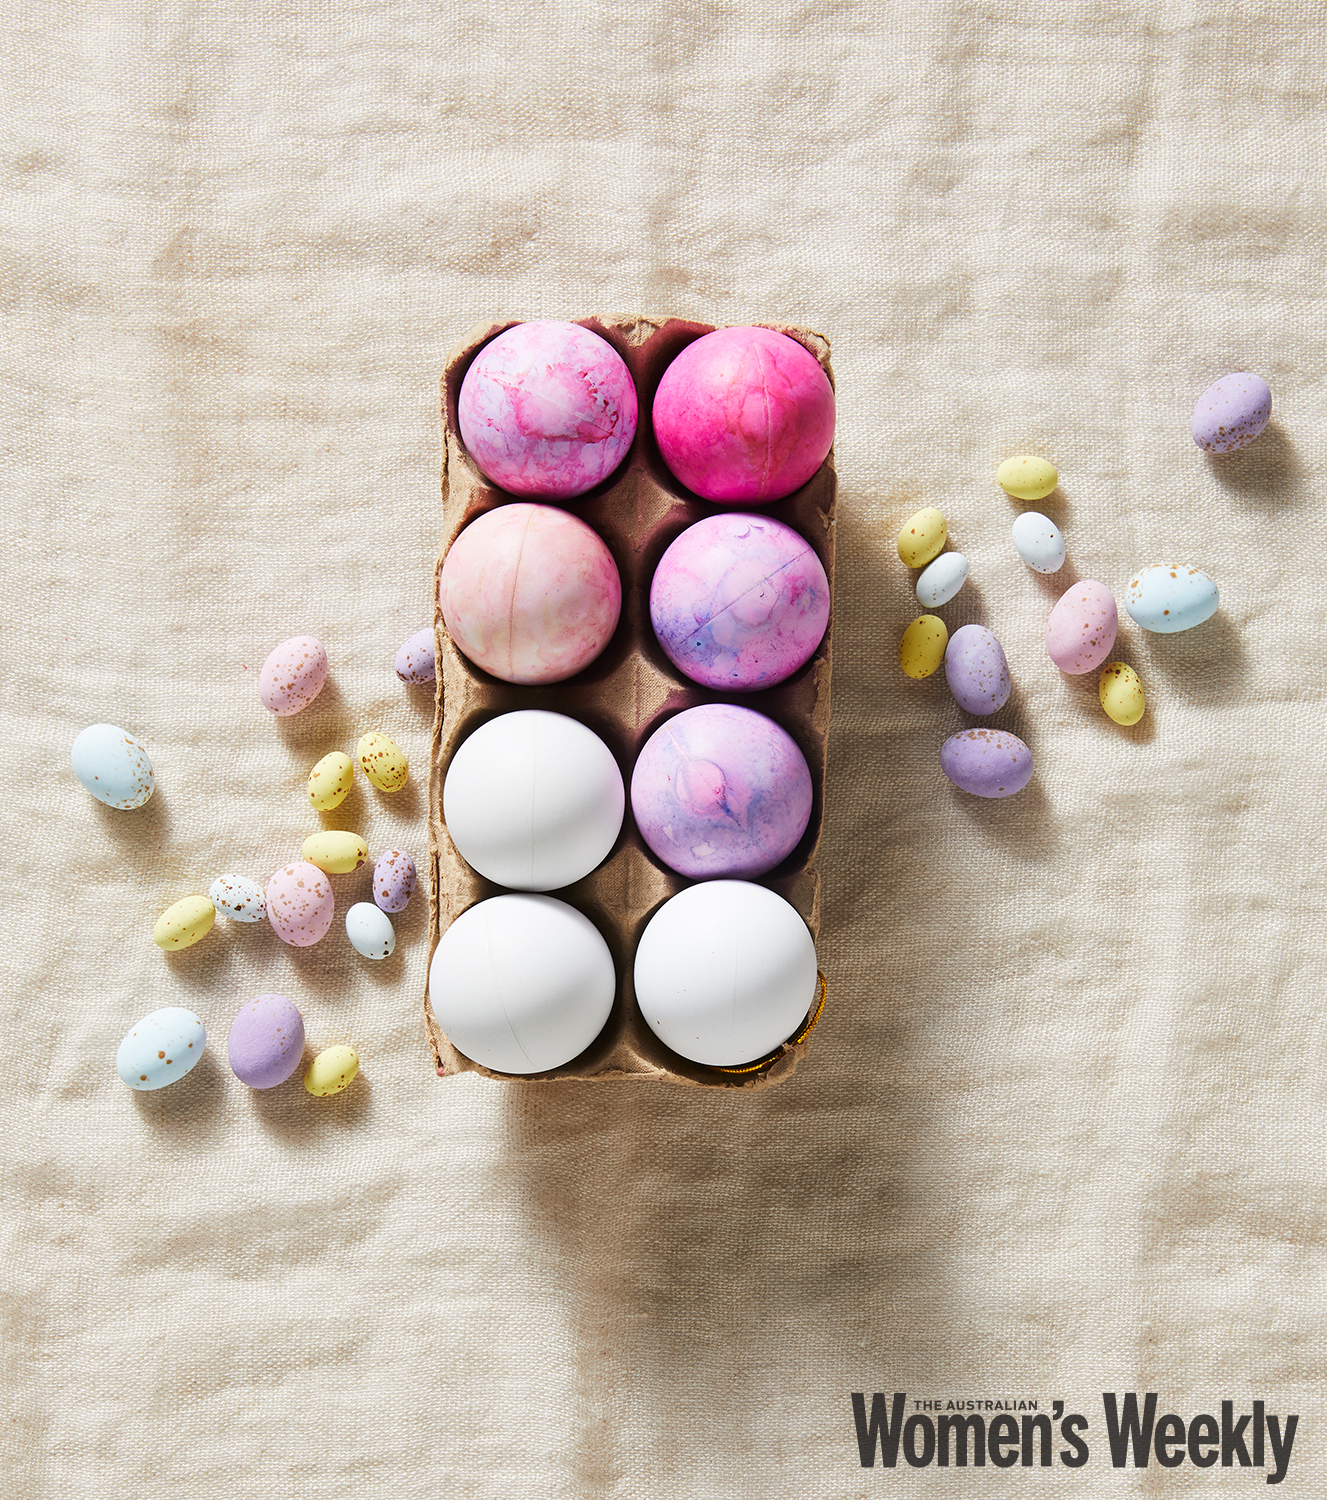
Make your own pretty ombre eggs to brighten up any Easter display.
Before the fun begins!
Materials
Plastic eggs – we got ours from Spotlight
Sandpaper
Food colouring
White vinegar
Dried lentils (you can use popcorn kernels, sunflower seeds or any dried foods)
Paper cups for mixing colours
Rubber gloves
Metal or plastic teaspoon.
Steps
1) Prepare the plastic eggs by lightly sanding all over to scuff the surface.
2) In a paper cup add 10-20 drops of food colouring with a teaspoon of white vinegar (add warm water if needed for consistency). Drop egg into cup to cover with the liquid. Spoon over and repeat if necessary for full coverage. Leave to dry.
3) Fill another paper cup a third of the way full with seeds/lentils, then coat thoroughly with food colouring (in a complimentary shade). Toss the coloured egg in the mixture gently to get a splattered effect all over.
4) Leave egg to dry.
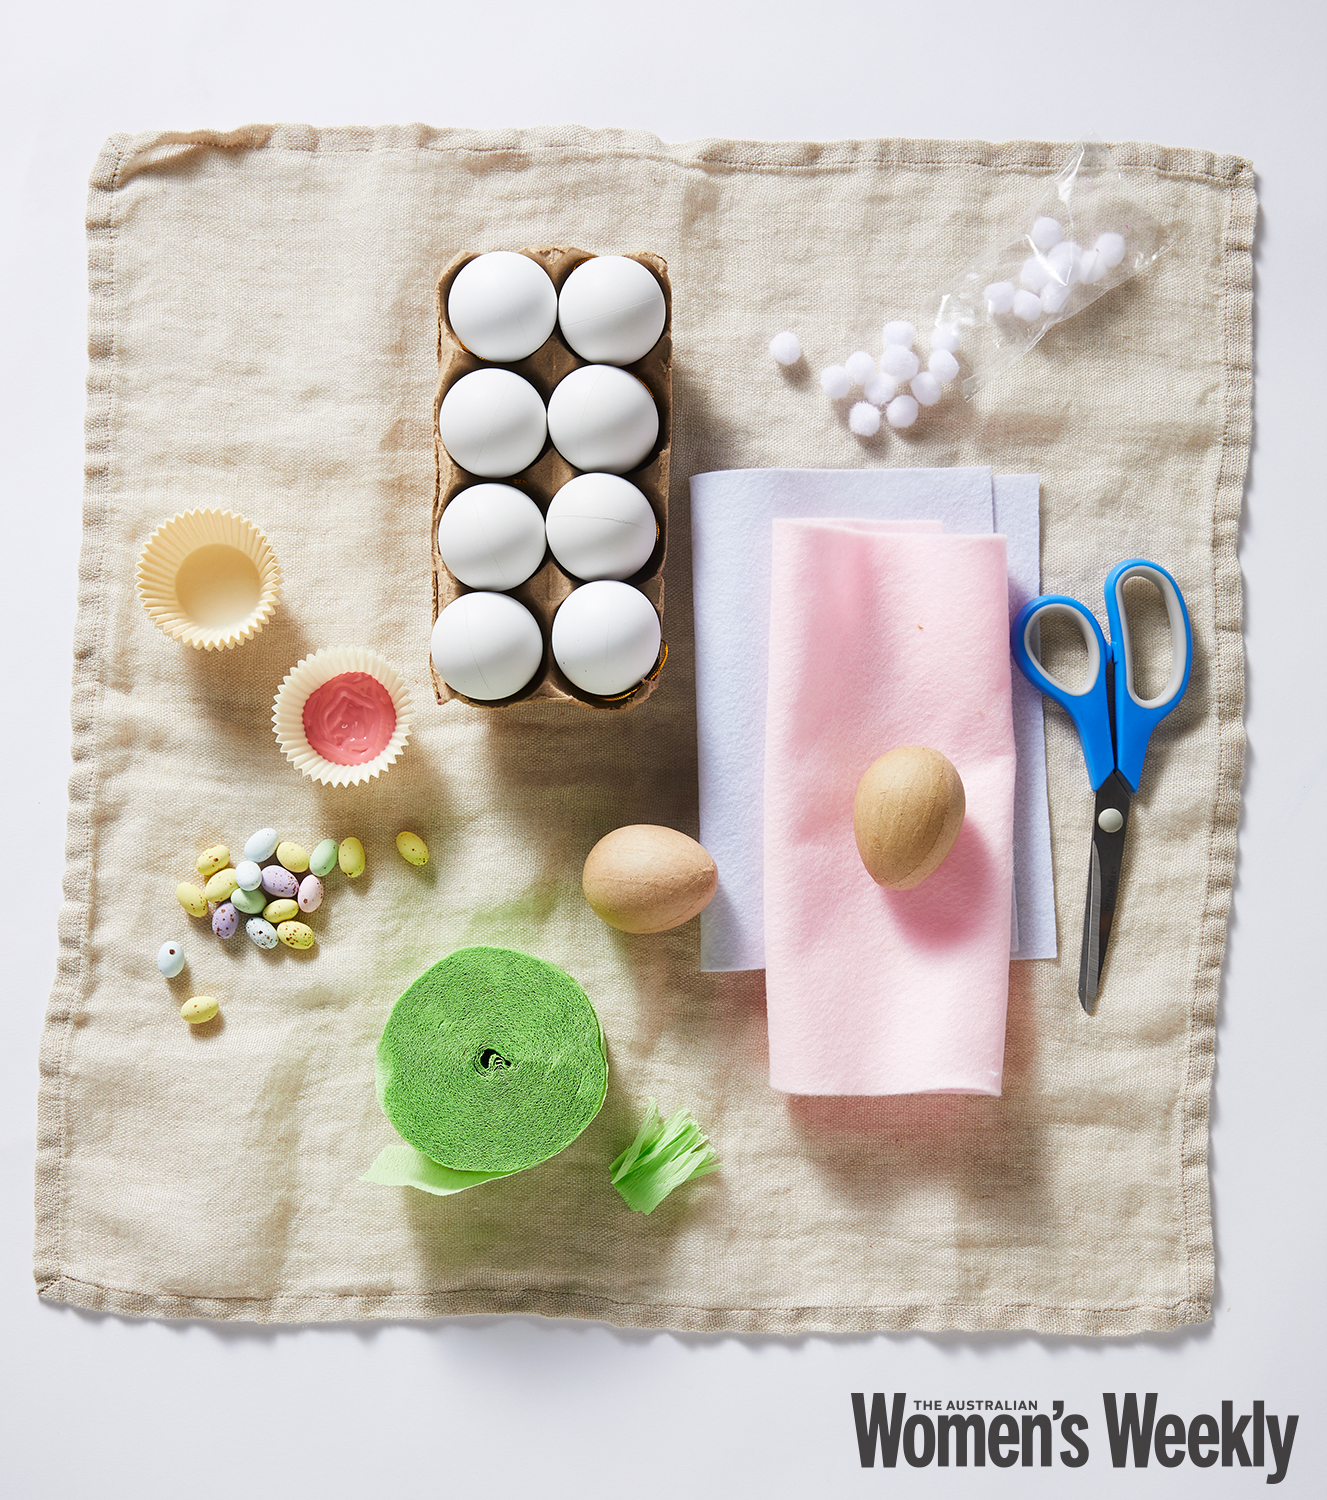
Coloured Bunnies
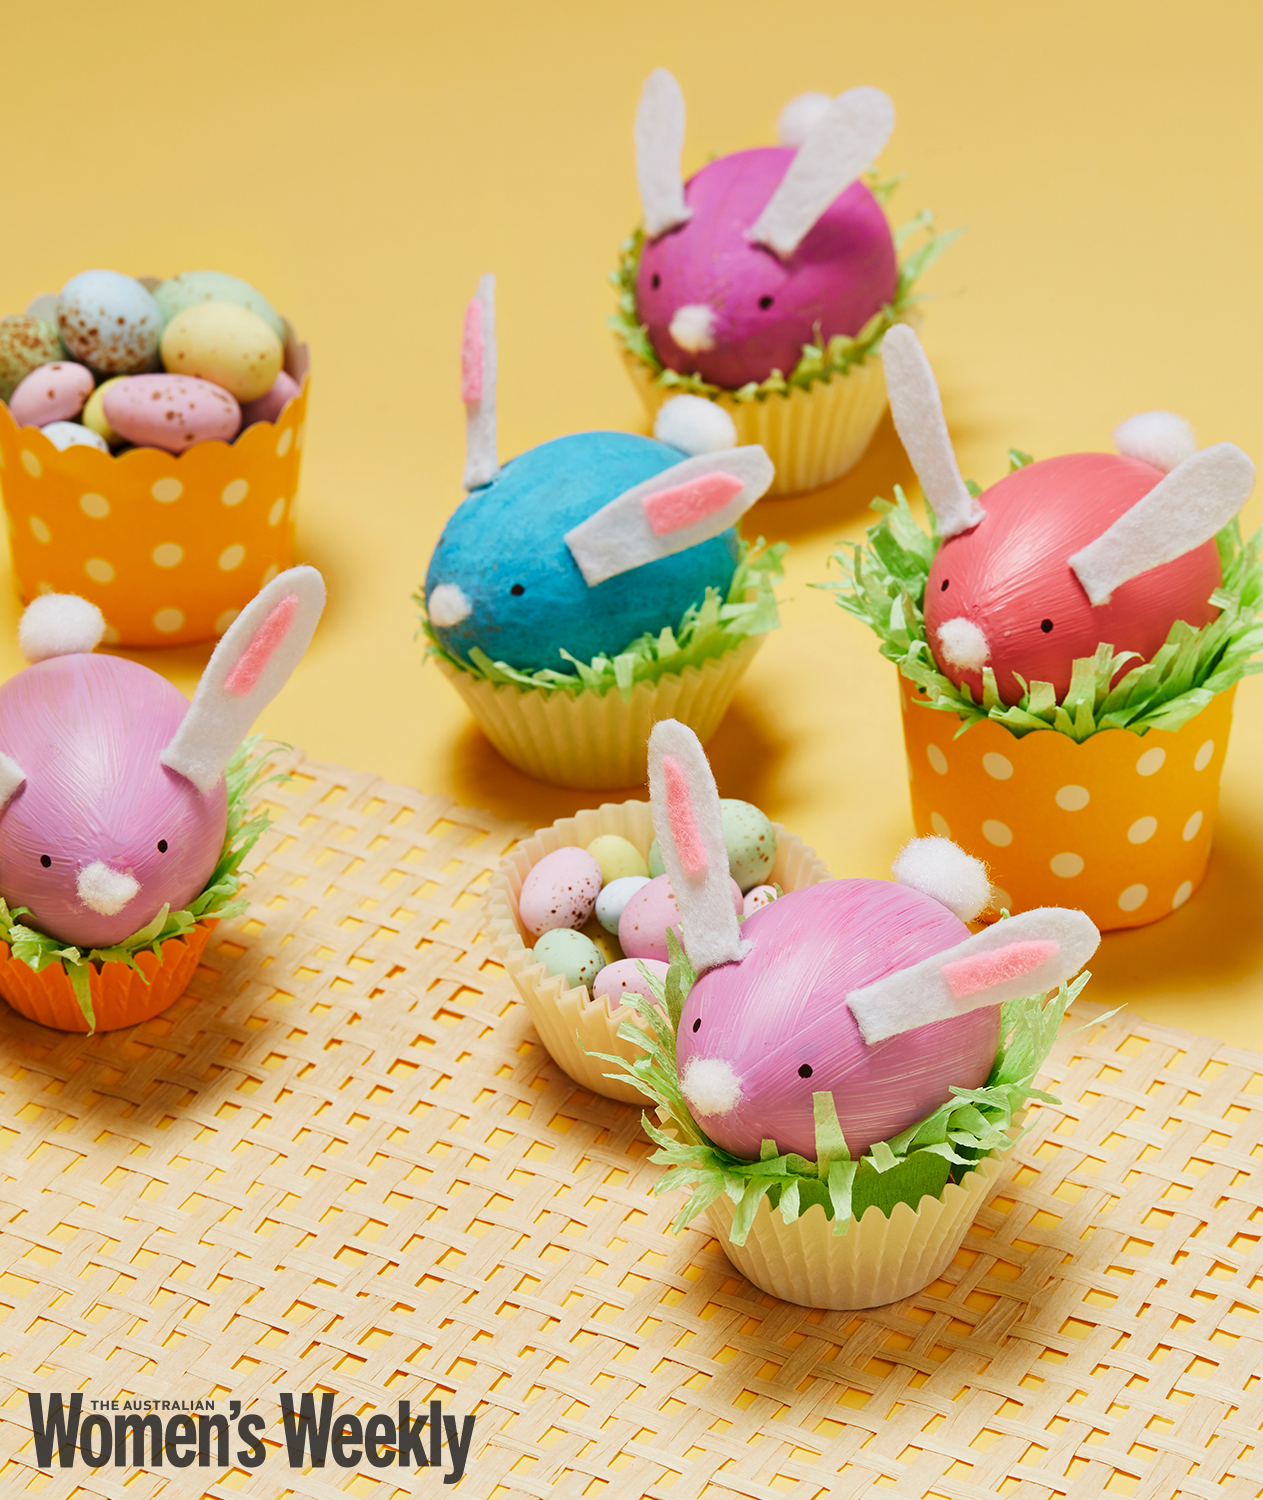
Pulling a cute Easter rabbit out of your hat couldn’t be easier.
Materials
Plastic or paper mache eggs
Paint or craft crayons in desired
shades
Scissors
Pink and white felt
Paint pen in black
Small white pompoms
Crepe paper ribbon in light green
Small muffin-cup liners in various styles
Glue
*All items available from Spotlight.
Ears
Outer ear template – create your own or find one online and scale to fit.
Inner ear template – create one to fit.
Steps
1) Paint or crayon eggs in desired shades. Leave to dry.
2) Glue a pompom to the large end of the egg to create tail. Cut a dot from a pompom to create nose. Glue to other end of the egg.
3) Using your templates, cut two ears from white felt and two inner ears from pink. Glue pink felt to white ear. Fold back the base of each ear, apply glue to underside and adhere to egg.
4) Draw eyes on egg with paint pen.
5) Fold crepe paper ribbon over several times and “fringe” with scissors to create grass. Unfold and place grass in muffin-cup liner. Position bunny in liner.