Add a unique touch to your Easter decorations by creating your own colourful egg displays with these easy-to-make marbled eggs.
It’s so easy, and you can get the kids involved!
How to marble eggs
1-2 dozen white eggs
Various mixing bowls
Measuring spoons
Liquid measuring cup
Food colouring
Paper towel
Spoon and fork
White vinegar
Olive oil
Mattress or quilting needle
Egg blower (optional)

How to… You can either use “empty” eggs or hard-boiled eggs for this project, depending on the way in which you will use the decorated eggs and whether or not you plan to eat them afterwards.
Emptying the eggs
Gently pierce the fat end of the egg with a large needle, such as a mattress or quilting needle. Wiggle the needle around to create a slightly larger hole, being careful not to crack the egg shell.
Make another hole in the opposite end and insert the needle inside to break the yolk. This makes it easier to expel. Place your mouth over one end of the egg and blow the contents into a bowl.
You can also use an egg blower (available from craft stores) or a baby’s nose aspirator (from pharmacies). Rinse the empty shell and allow to dry on paper towel.
STEP 1: Prepare a range of colours in mixing bowls by combining three cups of warm water and two tablespoons of white vinegar, then add 10-20 drops of food colouring, depending on the depth of colour you want. Place eggs in the dye and leave for a few minutes, until they become the desired shade. Blown eggs float and may need to be held down with a spoon until they fill with liquid and begin to sink. Remove eggs, allow to dry on paper towel.
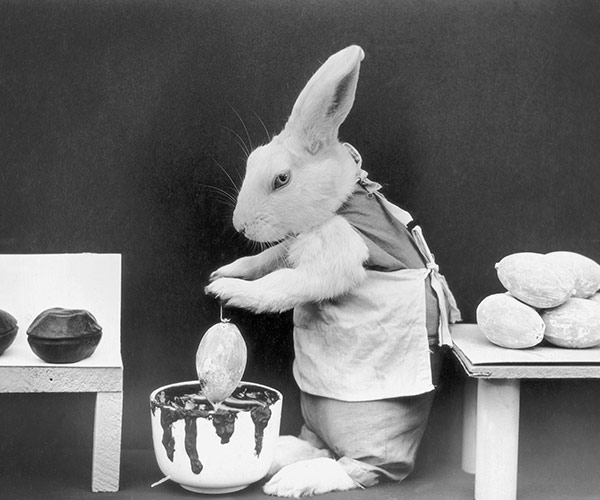
STEP 2: When you have dyed all the eggs with a light base colour, you can prepare the marbling mixture. The colour used for marbling can be a contrasting colour or a darker shade of the base colour. In a shallow bowl, pour 1-2 cups of warm water, add the food colouring of your choice and a tablespoon of olive oil. This oiled surface will create the swirling patterns on the egg shell. The mixture should be no more than 2.5cm deep.
STEP 3: Using a fork, stir the oily liquid to create a swirling pattern on the surface. Holding a dyed egg in your hand, place it in the mixture and roll around once to pick up the oil streaks. Pat the excess liquid with paper towel and allow to dry.
STEP 4: Leave the eggs to dry on a paper towel for a couple of hours or overnight – being sure to leave them where they’re not likely to be knocked or dropped. The pattern will become more intense as they dry and the colour is absorbed into the shell.