There’s nothing better than a fresh pedicure when your feet feel smoother than smooth and your nails look happy, shiny and bright. Here, we show you how you can get a salon-worthy pedicure at home with a step-by-step guide, plus some clever DIY pedi hacks.
1. Take the prep step-by-step
A salon pedicure takes between 30 minutes to an hour, but we rarely give ourselves the luxury of that much ‘me time’ at home, often only remembering to top-up old (chipped) polish before we rush out the door! If you’re doing a DIY pedicure, treat it like the, well, treat that it is and take yourself off to a separate room, pop on some music or a Christmas movie and commit to the prep work for a salon-grade DIY pedicure that lasts — you won’t regret it!
First up, remove any old nail polish and then start with a relaxing foot soak. You can add some bath salts to a bowl of water, if you have them, but if not, warm water is fine as it helps to soften your nails, soles and cuticles. Keep feet in there for a few minutes, up to 15 minutes if you have time. Next, dry your feet off and buff any dry, hardened skin on your heels and the balls of your feet using a foot exfoliator like Manicare’s pediPRO softroc™ Foot Exfoliator.
If you’ve got any particularly stubborn areas of callused skin, upgrade to a foot file to smooth away the hardened skin. The pediPRO range also has a Callus File, with a clever multidirectional design that works when you file up and down, plus a non-slip handle that comes in handy. And if anyone loves the foot shaving part of an in-salon pedicure, check out the line’s Callus Remover, which features 240 safety micro blades to shave your feet like a pro. Good/bad news — depending if you secretly-love looking at the shavings — it has an in-built collector which means less mess, so ultimately good news!
Now that your feet are seriously smooth, it’s time to clip, trim and file nails into your preferred shape. Then massage some cuticle oil into the edges of your nails and gently use a cuticle stick to push back your cuticles. Experts advise against trimming our cutting your cuticles as it can lead to infection. Now your feet and nails are fully prepped, it’s time to pick a colour and start painting.
Below are some more tips and tricks to help make your at-home pedicure as professional as possible:
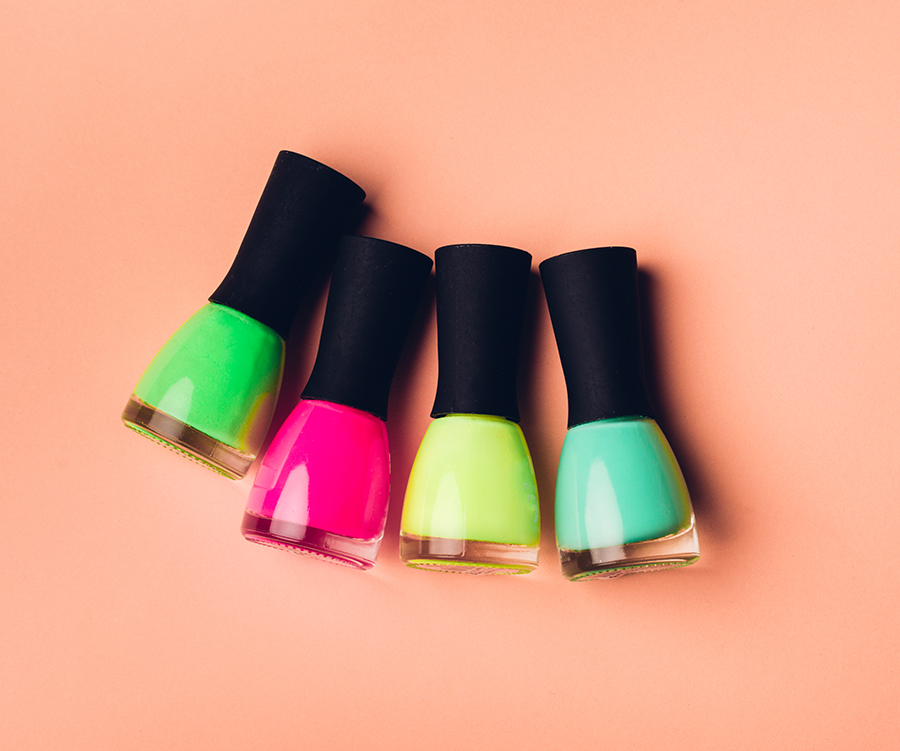
SHOP NOW: hit the price tag buttons above to shop the products
2. Use marbles for a foot massage
Nothing beats a foot massage, but it’s never much fun (or as easy) to do on your own feet. That’s where marbles come in. Pour a packet into a bowl of warm water and gently roll your feet over them while you sit and soak your feet. Da-dah! An easy DIY massage that doesn’t require any effort on your part.
3. Stray polish? Sock it to ’em
It can be hard to paint between the lines, but instead of loading up a cotton bud with nail polish remover and losing half your nail colour in the process, wait until your polish is totally dry. Then slather on a rich, heavy-duty moisturiser (body lotion will do) and pop on a pair of thick socks for an hour. The heat and gentle friction against the fabric will loosen any rogue polish and your feet will feel silky-smooth.
4. Make your own sugar scrub
Don’t have a foot scrub to hand? You easily make your own using a couple of staple pantry ingredients. Mix 2/3 cup white sugar, 1/3 cup brown sugar and 1/2 cup olive oil and you’ve got yourself a great DIY scrub that can slough off any dead skin. Buff it in circular motions on your feet and legs.
5. Two thin coats are better than one thick one
It might be tempting to layer a thick coat of polish and be done with it, but the reality is, it’ll take forever to dry and end up looking gluggy. Opt for two thin coats instead, leaving a couple of minutes in between each coat. Hold the brush midway down the cap for maximum control and work from the middle of the nail outwards leaving a 1.5mm gap at the top. This makes your pedicure look more professional.
6. Always clean your nails before you start
Clean nails are the key to a long-lasting pedicure. If you’re massaging your feet with oil or lotion prior to painting your nails, always wipe the nail plate clean with polish remover before you begin painting. This will help the polish “stick”. Even if your nails are bare, give them a quick swipe with polish remover to remove any dirt and oil from your nails.
7. Soften your cuticles with olive oil
Olive oil makes a great cuticle oil. Massage a small amount into your nails daily and gentle push back your cuticles with a stick or the edge of your fingernail. Never be tempted to cut your cuticles, they’re designed to protect your nail from infection and shouldn’t be trimmed, according to the pros.
8. Always sit on a chair
For the best polish results, sit on a chair and balance your foot on the side of a table when painting your toenails. This gives you the best angle, with maximum balance, and helps you avoid getting a backache from leaving down and over.
9. Coat the tip of your nail with top coat
How you apply your top coat can affect how long polish lasts. As well as applying top coat vertically, as you would your polish, it’s also important to seal the tip of your nail with a horizontal swipe, too. This is where most chips happen so it makes sense to put an extra layer of protection here.
10. Don’t fan your nails dry
Technically, nail polish doesn’t dry, it “cures” when it comes into contact with oxygen in the air. Trying to speed up that process by fanning it or dunking your toes in ice cold water can cause micro moisture bubbles to appear in your polish. If you’re in a rush, or feeling impatient, invest in a quick-dry spray that’s designed to make the oxidisation process happen faster, but definitely avoid fanning your nails dry.
Brought to you by Manicare